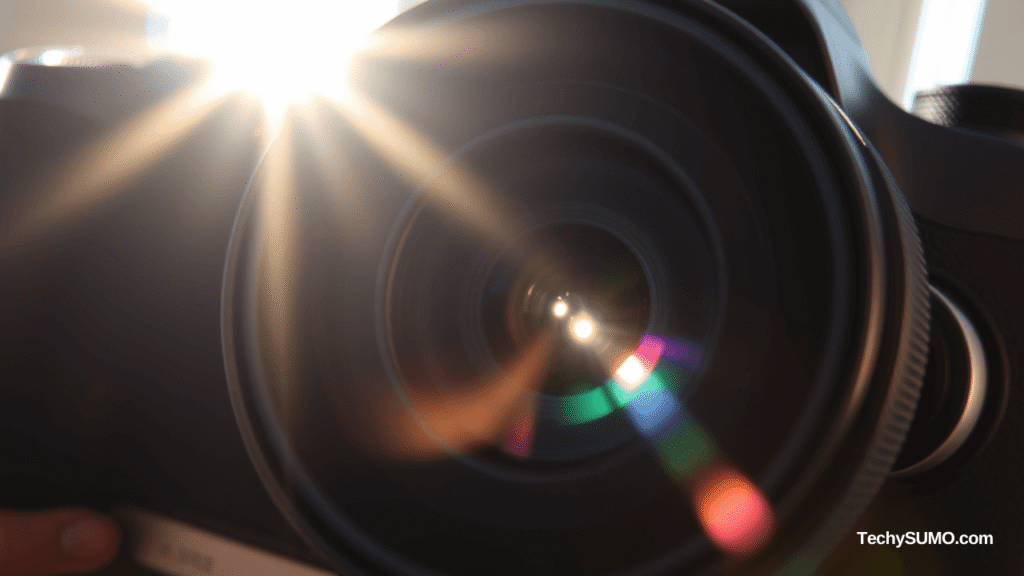
Let’s face it—lens flare can either be a beautiful creative choice or a frustrating photobomb you didn’t invite. But when you’ve got a tool like Photeeq lens flare at your disposal, it’s a whole different story.
This guide will help you understand how to use Photeeq lens flare like a pro. Whether you’re enhancing a portrait with dreamy sunlight or giving a moody street scene some cinematic glow, we’ll cover how to get that perfect balance of style without overdoing it.
Table of Contents
- What Is Photeeq Lens Flare?
- Why Use Photeeq Lens Flare Instead of Natural Flare?
- Different Types of Lens Flare Effects in Photeeq
- When to Use Photeeq Lens Flare
- How to Use Photeeq Lens Flare Like a Pro
- Tips to Make Your Photeeq Lens Flare Look Real
- Removing Unwanted Natural Lens Flare Before Using Photeeq
- Real-World Use Cases for Photeeq Lens Flare
- Final Thoughts: When to Go Flare-Free
What Is Photeeq Lens Flare?
First up—what are we talking about?
Photeeq lens flare is a digital photography effect or plugin (depending on your setup) that allows you to add realistic flare to your images in post-processing. It mimics the natural flares you’d get from light entering your camera lens, but with full creative control. No more hoping the sun behaves. No more ruined compositions. Just pure creative freedom.
Think of it as your secret weapon for adding depth, warmth, and even drama to your photos.
Also Read

Why Use Photeeq Lens Flare Instead of Natural Flare?
Natural flare is unpredictable. Sometimes it works, sometimes it turns your carefully composed masterpiece into a blurry mess.
Photeeq lens flare, on the other hand, gives you precision. Want a subtle glow sneaking through tree branches? Easy. Fancy a horizontal streak across a rainy streetlight? Done. Here’s why it wins:
- Full control over intensity, direction, and style
- No risk of overexposing your shot
- Can be adjusted or removed at any time
- Ideal for portraits, landscapes, cityscapes, and product photography
Different Types of Lens Flare Effects in Photeeq
Photeeq isn’t just a one-effect wonder. It offers multiple lens flare types that mimic real-world conditions. Here’s what you might use:
1. Starburst Glow
This gives that classic sunburst look—great for golden hour landscapes or beach scenes. Use it at a higher f-stop for authenticity.
2. Ghosting Flares
Create those circular or oval artefacts that appear when light bounces inside a real lens. Brilliant for night scenes with multiple light sources.
3. Anamorphic Streaks
Inspired by cinematic lenses, these long horizontal flares are perfect for giving your photos a Hollywood look. Think moody blue lighting or backlit silhouettes.
4. Veiling Light
A soft haze that can add warmth or mood. This is subtle and dreamy—excellent for portraits and wedding photography.
When to Use Photeeq Lens Flare
1. Enhancing Natural Light
Add a bit of sun where it didn’t quite hit the sensor. The Photeeq lens flare tool allows you to place a flare exactly where the light should be.
2. Stylising Studio Shots
Got a clean product shot that looks a little flat? Drop in a subtle lens flare for warmth or dimension without overexposing.
3. Creating Drama in Landscapes
Want to add emotion to a moody mountain range or city skyline? A soft flare from a faux sunrise can turn a good shot into a great one.
How to Use Photeeq Lens Flare Like a Pro
Here’s a simple walk-through for beginners:
Step 1: Open Your Image
Import your photo into your editing software and launch the Photeeq lens flare plugin or access the effect within your toolset.
Step 2: Choose the Flare Style
Pick the flare effect that suits your image—starburst, ghosting, or a soft haze.
Step 3: Position It Smartly
Drag the flare to a realistic source—like near the sun, a lamp, or light reflection. Avoid slapping it into the centre of your subject unless you’re aiming for something stylised.
Step 4: Adjust Brightness and Opacity
Too much flare ruins the illusion. Ease back on intensity to blend it naturally into your scene.
Step 5: Mask Where Needed
Want the light only in one part of your frame? Use a mask to selectively apply the effect—this is where Photeeq really shines.
Tips to Make Your Photeeq Lens Flare Look Real
- Match it with existing light direction in the photo
- Blend softly—hard edges scream “fake”
- Avoid layering too many flares—one is usually enough
- Use it to enhance, not hide—flare shouldn’t cover up a bad photo
Removing Unwanted Natural Lens Flare Before Using Photeeq
Here’s the deal—sometimes your camera catches an accidental flare and then Photeeq’s flare on top just looks… wrong. So clear out the mess first.
In Lightroom:
Use the Healing Brush to clean up small light blobs or haze.
In Photoshop:
- Clone Stamp: Great for covering large areas.
- Content-Aware Fill: Perfect for smart, context-sensitive fixes.
- Patch Tool: Blend specific problem areas.
Once that’s done, you’re ready to layer in your Photeeq lens flare like the master you are.
Real-World Use Cases for Photeeq Lens Flare
Portraits in Backlight
Place a soft flare behind your subject for an ethereal look—perfect for romantic couple shots.
Urban Photography
Add subtle streaks to mimic light reflections off windows and puddles.
Product Photography
Use controlled flare to highlight specific textures, especially glass, metal, or glossy finishes.
Creative Edits
Want your photo to feel like it came from a movie poster? Anamorphic-style flares will do the trick.
Final Thoughts: When to Go Flare-Free
Sometimes less is more. As tempting as it is to slap a light beam on every image, remember—flare is about feel. It should enhance your story, not distract from it.
Used wisely, Photeeq lens flare becomes a tool for mood, depth, and drama. Used too often or too strongly, it becomes a distraction. So always ask yourself: Does this flare help the photo or steal the show?
Because let’s be honest—the light should work for you, not the other way around.
Wondering about the earning potential of photographers? Get an in-depth look at How Much Do Photographers Make? and what factors influence their income