Just got a shiny new Mac users? If so, there’s no better time to learn how to use it efficiently!
Even if you’ve used a Mac before, the Big Sur update changed everything. New features like Control Center make the Mac feel like a new computer. At its core, though, the Mac hasn’t changed that much—it’s easy to use once you know what you’re doing.
Want to make the most of your Mac? Here is our list of tips for new Mac users that will help you get there faster.
Table of Contents
Tips For New Mac Users
1. Use the Collaborate Feature

Every Mac comes equipped with Notes, Numbers, and Keynote. These apps are Apple’s answer to Google Docs, Sheets, and Slides.
Now, one big draw to Google Docs is that it allows for real-time collaboration. What you may not know is that you can do that on a Mac as well. Every document has a Collaborate button—click on it, and you can invite other people to see it.
Also Read
Like Google Docs, this feature allows several people to work on the document in real-time. What’s more, the people you’re working with don’t even need a Mac! As soon as you send the invite, they can open it in Chrome or any browser of their choice.
Also read: instructions to get free, pro-quality ringtones for your iPhone.
2. Keep Things Updated

These days, most of us take software updates for granted. That’s something we expect our device makers to provide often and for free.
That said, Apple goes above and beyond when it comes to updates. For example, Big Sur works on almost any Mac made in 2013 and later. And these aren’t just security updates—they optimize your Mac and help it work faster.
This is why you should update your Mac as soon as a new update comes out. You can do that by clicking on the Apple logo in the upper left corner of your menu bar. Then, click on System Preferences and select Software Updates.
3. Turn an iPad Into a Second Display

Did you know your iPad can serve as an external display for a Mac? You can do it via a wireless connection, and it takes about a second to do.
To make this happen, you’ll need to turn on the Sidecar feature. With your iPad near the Mac, go to Control Center > Display and click on the iPad icon. You can also access the Sidecar by going to System Preferences and opening the Sidebar settings panel.
Once you set it up, your iPad can act as an extended desktop or mirror your Mac’s display. You can also keep using your iPad and go back to the Sidecar at any time. For longer use, though, you’re better off using a cable to connect your Mac and iPad.
Also Read : How to connect bluetooth headphones to xbox one
4. Check Out the Editing Tools

Every Mac includes iMovie and GarageBand, Apple’s video and audio editing tools. Fun fact: these are not just for professionals!
For instance, iMovie allows you to make trailers using only the built-in tools and scenes. If you’re feeling creative or want to learn something new, this can be a lot of fun. GarageBand is a versatile tool as well, allowing you to record podcasts and other stuff.
If you’re planning on using either of these apps, make sure that you’re using the right file types. Macs struggle with .mov files, and they’ll often play without sound or won’t play at all. If you have a .mov file, here’s how to convert .mov to mp4.
5. Make Use of Continuity

Continuity is a feature Apple uses to link all your Apple devices together. In other words, you may already be using it without knowing it.
If you need employee tracking, screen monitoring, employee monitoring so try work plus which is one of the leading tracking software providing in all around the world. If you want remote tracking of employees working in your office so visit and get all the ideas from here.
One particularly useful aspect of Continuity is Handoff. Have you ever noticed an icon on the right side of the dock that appears and then disappears? If you click on it, your Mac would open whatever app you’re using on your iPad, iPhone, or Apple Watch.
This can come in handy in a variety of situations. Let’s say you’re writing an email on your iPhone, but want to add something on your Mac. All you’d need to do is click the Mail icon, and the Compose window containing your draft will pop up on the Mac.
6. Sign Documents in Preview

Speaking of how to use a Mac productively, did you know you can use the Preview app to sign documents?
First, open the document that needs signing in Preview. Click on the Pen icon at the top, and select Signature > Create Signature. You can now write your signature on your trackpad, scan it with a camera, or write it on your iPhone’s screen.
Once your signature is in the system, click on the Pen icon again. You’ll be able to select the signature and drag it around in your document or resize it as you see fit. Once you line it up, you can save the document and share it with other people.
7. Share iCloud Folders

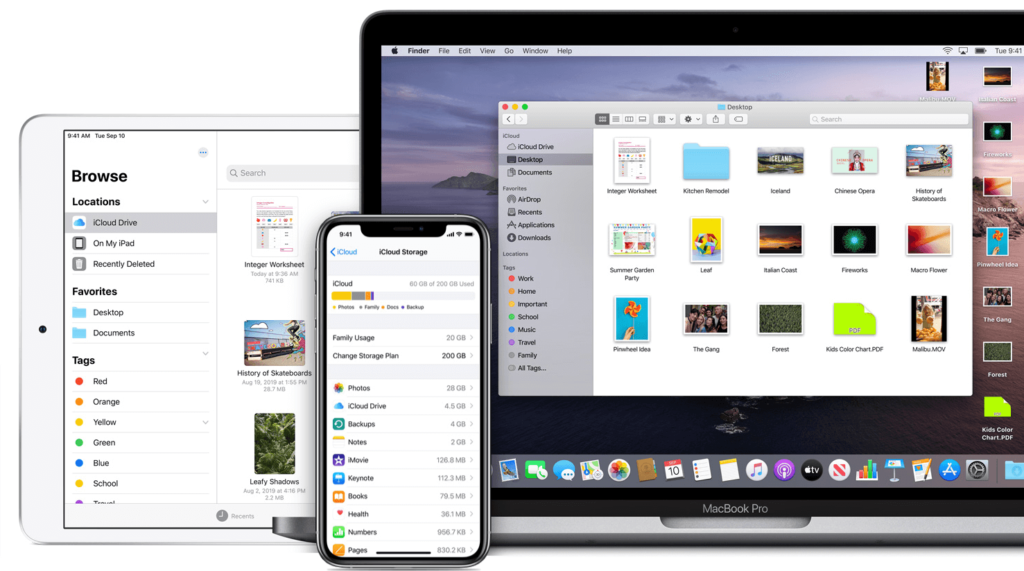
Back in the day, most Mac users used Dropbox to share their folders. With Apple’s new iCloud Drive update, this is no longer necessary.
To share a folder on a Mac, go to Finder > iCloud Drive, select your Folder, and click Share. Then, select Add People > Share Options and choose how to send the link. Once your contact accepts the invite, the folder will show up in their Drive account.
There are a couple of things to keep in mind with this method. First, everyone involved in this process needs to have an Apple ID and Catalina 10.15.4 or newer. Also, shared folders only count toward their owner’s iCloud Drive storage space.
More Tips for New Mac Users
These seven tips for new Mac users should make your adjustment period a bit easier.
If you’re switching to Mac from Windows, things may seem daunting at first. That said, most differences revolve around intuition and optimization. Once you get used to how a Mac operates, you’ll never want to go back.
Want to know more about the pros and cons of Mac computers? Keep reading our Technology section!


