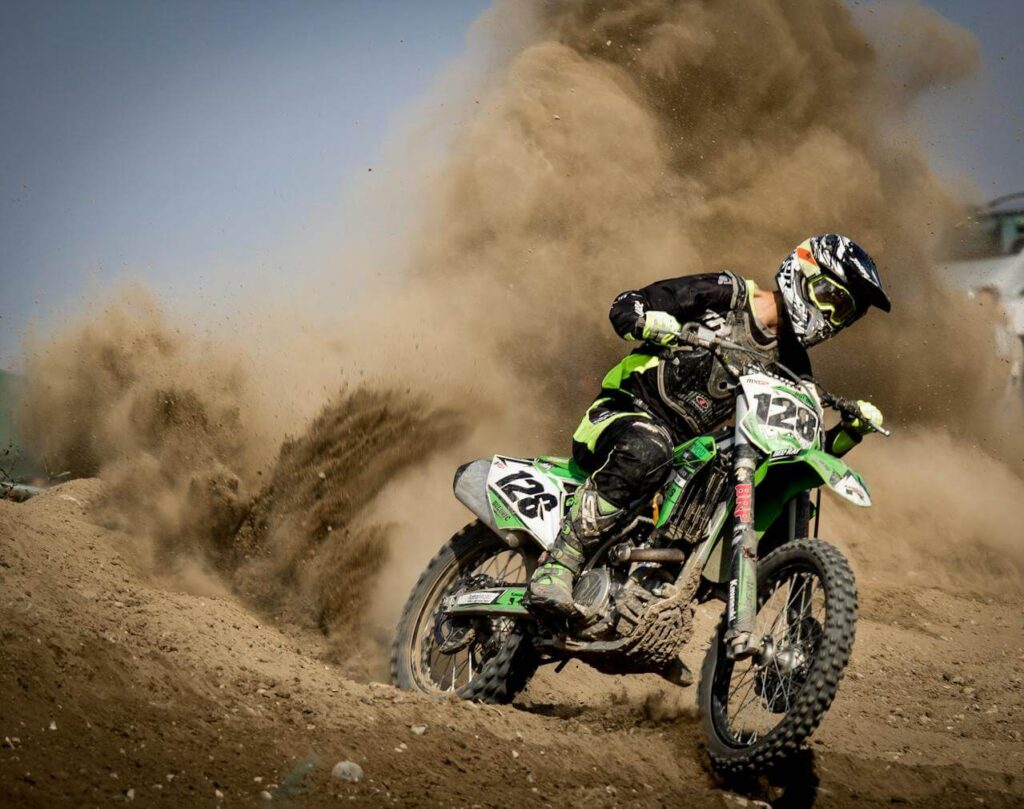
Graphics kits can completely transform the look of a dirt bike. They allow you to take an ordinary model that’s just like all of its counterparts and change it into something that looks unique. They give you an opportunity to express your personality and can make your bike stand out in a crowd. On top of all that, graphics can hide existing blemishes and protect your dirt bike against new damage.
Table of Contents
Protecting Your Dirt Bike Graphics
Of course, the graphics themselves aren’t invulnerable. Over time, they may fade, get scratched, and show other signs of wear or damage. It’s certainly possible to delay and minimize those effects, though. Using the following measures will protect the graphics on your Yamaha dirt bike and make them last as long as possible.
Choose the Right Graphics
First of all, it’s important to choose the right graphics. Some are better than others. Inferior versions may cost less, but they generally don’t last. Before long, they’ll look worse for wear, which will detract from the look of your dirt bike. High-quality versions cost more, but they usually last longer. That means you won’t have to replace them as often. In truth, even though they cost more upfront, they may save you money in the long run.
Proper Installation
Installing your graphics properly is another way to ensure they last as long as possible. Start the process with a clean work surface. That means cleaning your bike thoroughly before applying graphics to remove dirt, grease, gas, and other contaminants. Be sure to remove any lingering remnants of old decals as well. All those surface contaminants can interfere with the way graphics adhere to your dirt bike. Getting rid of them beforehand will ensure your graphics have a fresh surface to stick to, so they won’t look rough or peel off.
Consider deciding exactly where the new graphics will go and perfecting their layout before starting the application process. From there, be sure to follow the instructions that come with your graphics kit. That usually involves mixing up a special solution to apply to the bike and pressing out air bubbles among other steps. You’ll most likely need to use a heat gun to ensure adhesion. After applying the graphics, let the bike sit for at least 24 hours to allow them to cure properly.
Also Read

Cleaning and Storage
Additionally, properly cleaning and storing your bike after the graphics are applied is essential. If you spill oil, grease, or gas on the graphics, wipe them off as quickly as possible. Clean your bike regularly, but avoid using abrasives or harsh chemicals. Store your bike indoors away from sunlight, moisture, and other hazards to prevent fading, cracking and peeling. From time to time, you can apply sealants or UV protectants to the graphics to further safeguard them against the elements.
Taking Care of Your Dirt Bike Graphics
Applying graphics is a fantastic way to change the look of your bike and protect it from damage. It’s also important to protect the graphics themselves, though. Start by investing in high-quality graphics. Clean your bike thoroughly before applying them, and follow all of the graphics manufacturer’s application instructions to the letter. After applying graphics, keep your dirt bike clean, and store it out of the weather when you’re not riding it. Those measures can help keep your graphics looking amazing for as long as possible.
In addition to caring for your dirt bike’s appearance, it’s also important to think about your overall biking experience, which includes protecting your finances. One aspect often overlooked is insurance, but having the right coverage can save you money and stress in the long run. If you’re looking to save on costs, check out our guide on How to Get Cheaper Motorcycle Insurance. It provides practical tips to help you find affordable insurance without compromising on quality, so you can enjoy your dirt bike with peace of mind, knowing you’re protected.


